tie dye jumper tutorial

Mix the Tie Dye from the Tie Dye Kit Typically the instructions are to add warm water to the bottles up to a line marked on the bottle. You can use your non-dominant hand to control the fabric as it spirals to prevent it from towering.

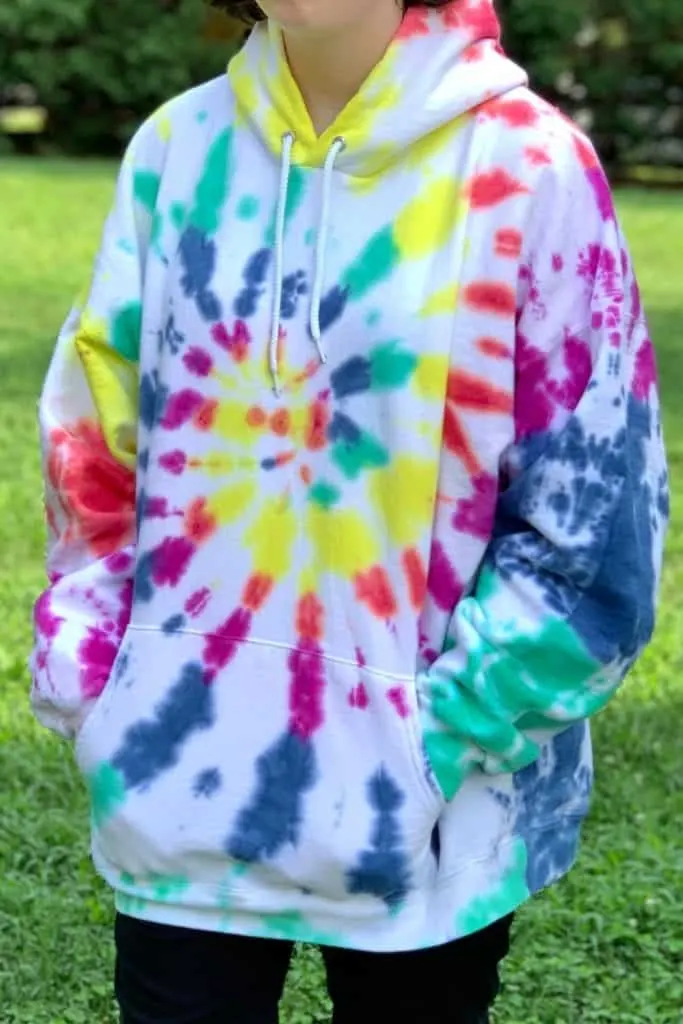
How To Tie Dye A Hoodie 12 Steps With Pictures Wikihow
The longer a tie dye project sits the better the dye will seep into the project.
. Rinse the shirt until the water runs. Place the hoodie into the mix of dye fixer and water and let it soak for around 5 to 10 minutes or until it is completely saturated. It came with three primary colors red blue and yellow.
The Swirl the Sunburst and the Stripes. This was the case with the Jacquard Tie Dye Kit which you can get on Amazon. Grab the bunch you created and twist the object in a circular motion until its sort of all wound up.
I immediately got instructions and went on Amazon and ordered the following. Last Updated on January 10 2022 by Sarina. Scroll to the end of the tutorial for a printable set of instructions to make this craft easier at home.
It takes a little time but in the enc youll be happy with the results you get from using this method. If you want an especially bright project leave it. Though there are various patterns you can try with tye-dying but this age-old technique gives a.
You dont want the dye to stain your clothes youre wearing or furniture. You can either wet your item before applying the dye so that the dye flows easily on your fabric or leave your item dry and massage the dye into the fabric for a more vibrant result. Tie and dye involves dyeing specific areas of the fabric by means of tying- the undyed fabric shows up in the base color of the fabric in patterns depending on how you tied after folding or crumpling scrunching twisting the fabric.
You can use a. The basic method to do Tie dye. Tulip One-Step Tie-Dye Kit 15.
Keep twisting keeping your fingers close to the surface of the table so the spiral stays flat As you twist the shirt will fold in on itself like a flat cinnamon roll. The fun summer DIY projects youve been creating at home can fall into autumn thanks to these tie. Start by pinching a small section in the center of the shirt.
Place 2 sheets of paper towels in each bucket to absorb excess tie dye 5. Saying goodbye to summer doesnt mean you have to bid farewell to your tie-dye obsession as well. After you fill them shake the bottles so that the dye powder dissolves.
For todays reverse tie-dye tutorial Im using the sweater I made in my DIY Sweater Tutorial. The photo above shows a finish product of a tie dye shirt if. Smooth the fabric down evenly from your pinched point creating a skinny cone shape.
Move the rubber-banded ring up or down to make the circle smaller or. What is reverse tie-dyeing. The example in this post was done dry creating distinct edges on.
Step two Gently twist the fabric over and over until a swirl begins to form. Traditional tie-dye involves color to being added to a canvas instead of removed. Pick 1 dye color and prepare the mix for the CreateBasics or Tulip Tie Dye Kit add water to the bottle of the color you want.
To create a traditional spiral tie-dye pattern hold your garment with 2 fingers and twirl it so it twists tightly. Shibori is the traditional tie-dying technique of the Japanese. To make a rainbow spiral or swirl tie dye shirt.
Wrap it in saran wrap and let it sit. Steps Lay your item flat find one or two key areas and create a sort of bunching with your hand. The indigo blue and white is an all-time favorite.
Identify where you want the center of your swirl and pinch the fabric in that place with your index finger and thumb. Wring the shirt out and lay it flat on the plastic. Hold on to that small section while you twist the shirt clockwise.
Use plastic buckets to contain dye and make cleanup easy 4. Place dye bottles a bucket a roll of paper towels and sealable plastic bags at each tie dye station 3. Hippie Shibori Tie Dye Shirt.
Get a clean white shirt to tie dye. Get a 55 gal size plastic bag from Target or sheet of plastic and lay it over your surface to prevent any staining. Keep twirling until the entire garment is twisted into a tight knot.
Wrap a rubber band tightly around it. Easiest place to tie dye is outside. How To Tie Dye 4 Different Ways Tie Dye Tutorial.
Secure the twirl with several rubber bands then apply your bleach mixture. Apply a different color to each banded section in the rainbow order of your choice. Here is a step-by-step rundown on three easy tie dye patterns you can do when tie dying with kids.
This instructable will teach you how to get Tie Dye and what you will need to do so. Make it wet and then wring out excess water so the dye soaks in better. Many tie dye tutorials recommend allowing your project to sit 6 to 8 hours.
Grab your white clothing that you wish to dye such as a t-shirt and lay it flat over the plastic. Once your item is damp and ready lay it flat. Reverse tie-dyeing or bleach tie-dye is creating the tie-dye look by removing color pigments with bleach.
How to Tie Dye. Prepare your work area with plastic wrap or a sink that is stain resistant. Add rubber bands and follow the tie dye pattern of your choice.
After a few DMs she explained that she used ice and powder dye to create the effect. Please go watch videos for a more in-depth visual of this if you want to although using this kind of bleach none of this is really necessary. Grab your tie dye project and put it into your plastic Ziploc bag and let it sit overnight.
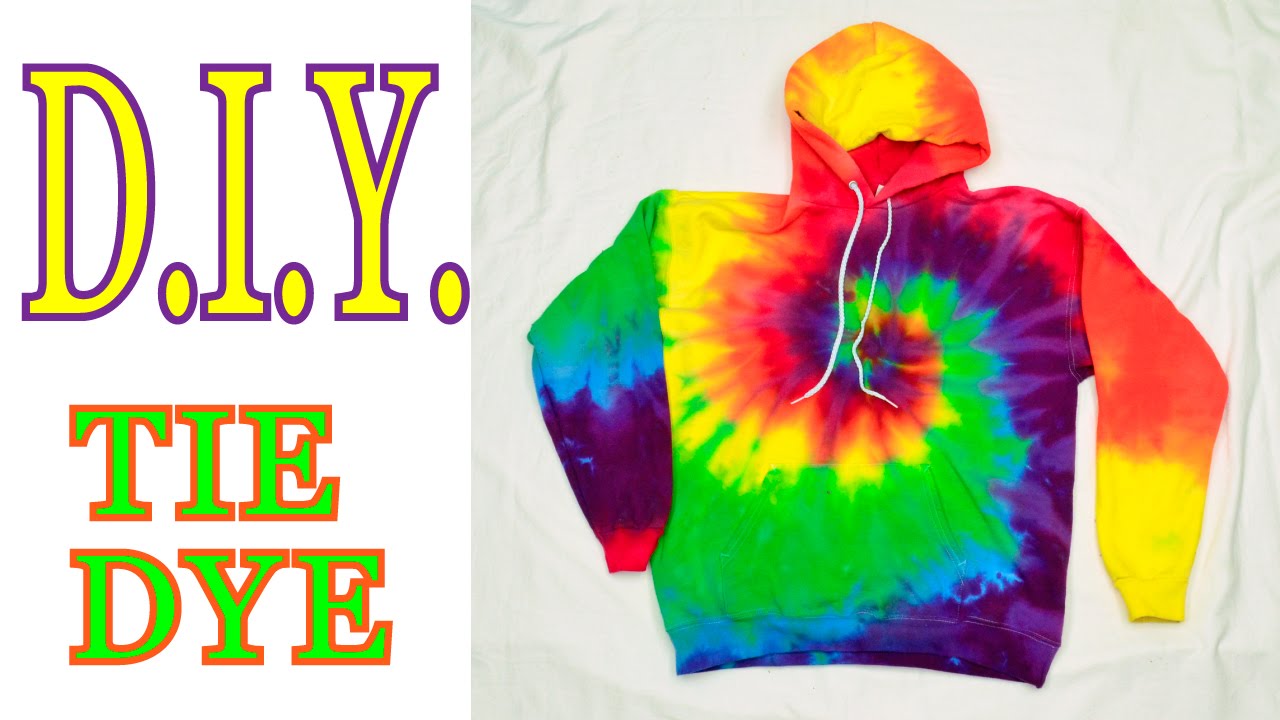
Diy Tie Dye Rainbow Spiral Hooded Sweatshirt Tutorial 19 Youtube

How To Tie Dye A Hoodie 12 Steps With Pictures Wikihow
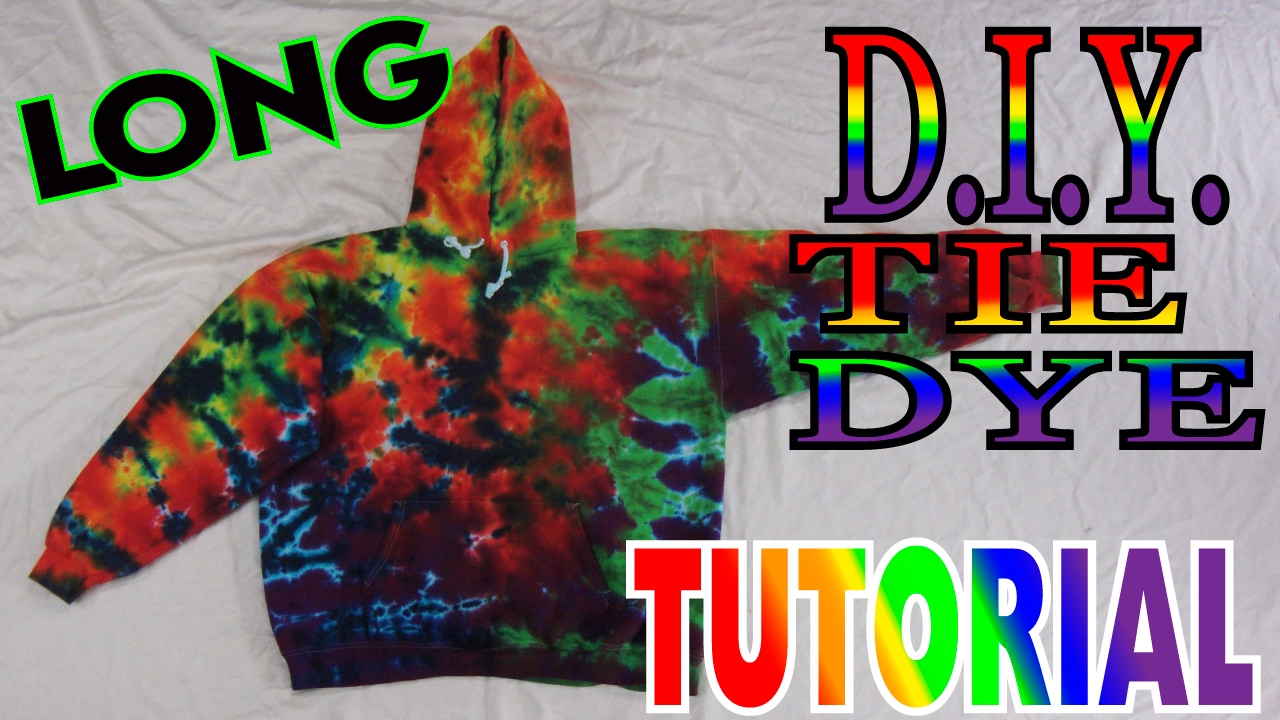
How To Tie Dye A Rainbow Hoodie Crinkle Full Tutorial Youtube
How To Tie Dye A Sweatshirt At Home Popsugar Fashion
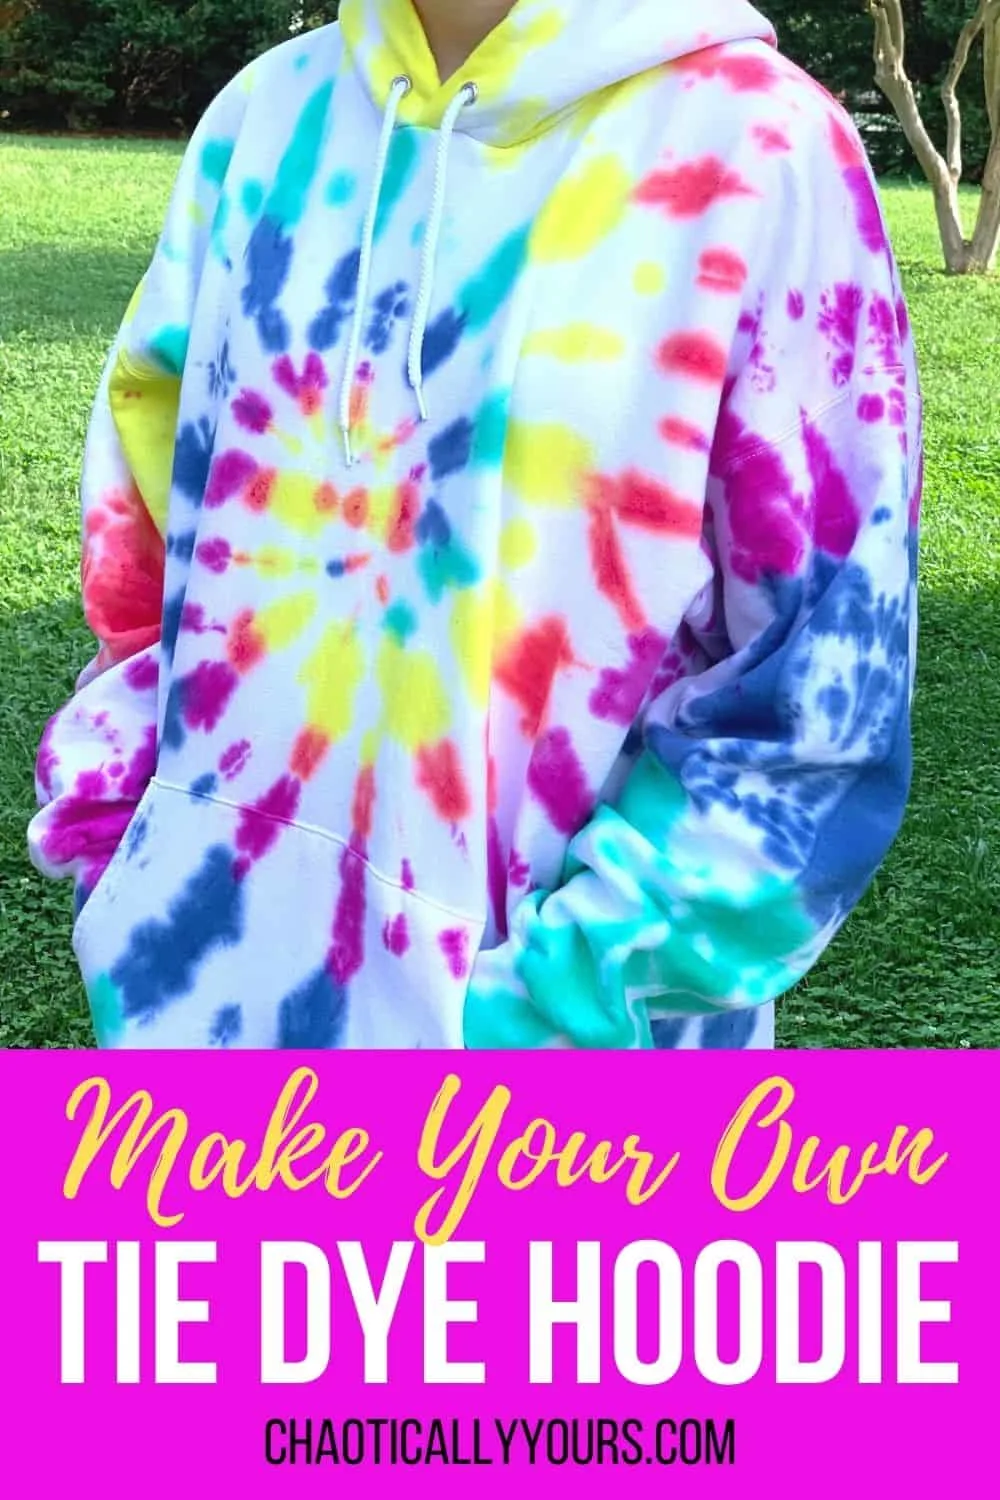
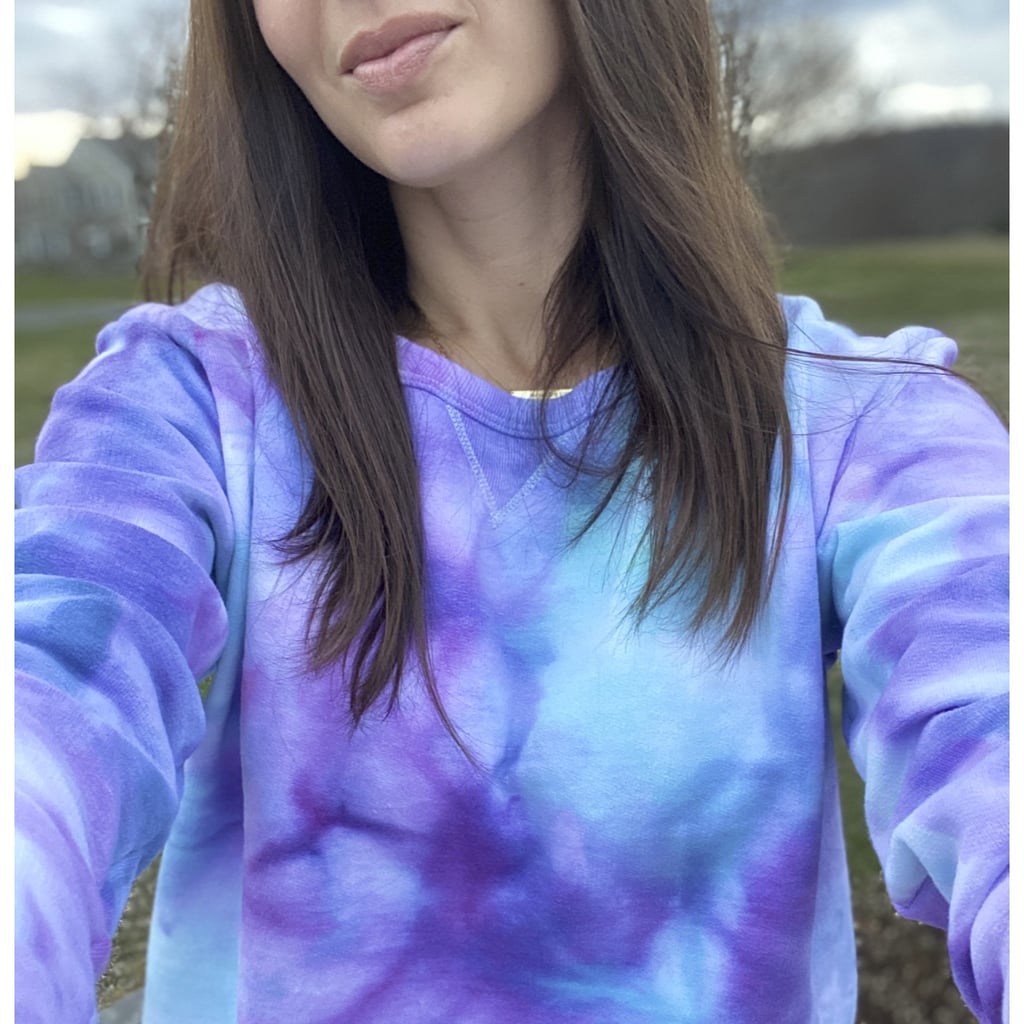
Tie Dye Hoodie A Do It Yourself Guide Chaotically Yours
Tie Dye Hoodie A Do It Yourself Guide Chaotically Yours

How To Tie Dye Hoodie 2019 Youtube

How To Bleach Tie Dye A Sweatshirt Easy Diy Sarah Maker

Tulip Tie Dye Store Learn Tie Dye From The Pros Shop Vibrant Fabric Dye Colors 1 Hoodie 4 Ways To Tie Dye